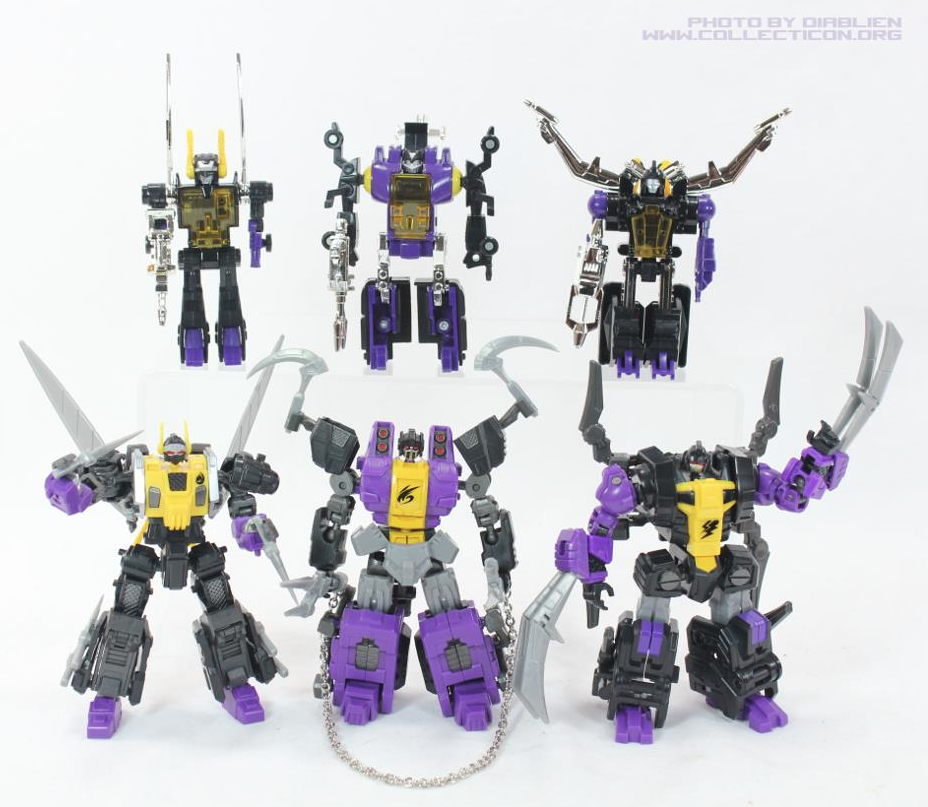
As you can see in the picture below. G1 Insecticons with their chrome weapons in the back and Fansproject version in the front.
I was originally thinking or painting it at first, but could find the results I wanted that didn't require an airbrush. There are some paint cans that I found at the hardware store but didn't really seem to give the best results. Plus this was my first project and I didn't want to mess up a nice $60 figure. So I opted for Chrome Foil. It's easy to apply and you can peel it off if you ever decide you don't like it anymore or if you want to resell your figures. It seemed to be the best option for me. Now onto the tutorial
1. Equipment
-Chrome Foil $8.95 (you'll find this at your local hobby store that sell model kits. Chrome Foil is usually used on car models for the chrome window trimmings. A lot of people recommend the brand Testors, but my local hobby store had Bare-Metal)
-X-acto knife $1.50 (or any type of really sharp blade)
-tools $1.50 (to take apart your Transformers)
-cutting mat $1.50 (or whatever you like to cut on)
-Q-tip
-tooth picks
-sand paper

2.If you need to. Take apart your Transformer to get to the part you want to apply chrome foil. In my case it was the thigh. Which was only held together with 3 screws.
3. clean and dry off the piece you are applying the foil to.

Important note After trial and error it is best that you work with pieces that avoid as many bends as possible. So for example if you were going to be working on a cube I would cut 6 pieces instead of trying to wrap it in 3 or 4 pieces.
On this piece pictured below I should have tried 3-4 pieces instead of 1. I learned the hard way.
4. cut out a piece of chrome foil that is larger than the face that you are covering. I tried to cover this piece in one sheet. That was a mistake and that's why the piece is so large.

5. apply chrome foil to your piece. At this point what I should have done is to apply the chrome foil to this one side alone instead of wrapping it around.

6. After applying the foil I used the q-tip to firmly adhere the foil to the piece. I saw a video online and the guy used a lightly moist q-tip that he dried on a napkin to make it run smoothly over the foil. You can use your figure if you like also. I sanded down some tooth picks and used that to get the final detail. Chrome foil is prettyl delicate so a tooth pick can easily puncture a hole. So I sanded the tips down on mine to help prevent that. Chrome foil blends in pretty well with each other and is really thin. So if you poke a hole or tear it. It can be easily patched up.


You can see where I messed up on the piece on the left cause I tried to wrap it in one big piece of foil and it bunched up and gave me wrinkle marks. The piece on the right I did with 2-3 pieces.

Here he is partly finished. Everything is done except his weapon.

I ended up taking the chrome off on my first attempt and tried it again with better results as you can see on the right thigh.

Here is a comparison. Top no Chrome, bottom with chrome.

This is the weapon complete minus the handle.

Hope this helps you guys and if you didn't like your results. Not a problem. Just peel the stuff off and you're back to normal.
No comments:
Post a Comment